
Google Cloud AutoML is pretty cool, in that it allows developers to easily train custom machine learning models for vision, natural language, and translation without writing model code.
We did fair justice to the earlier short piece about what AutoML really is, and today, we’ll look into getting started with Google Cloud AutoML Vision in this tutorial, and build a model to help classify images.
The steps are straightforward:
- Prepare image dataset
- Upload labelled images into Google Cloud AutoML UI
- Train the model
- Evaluate model performance
- Use model
Let’s dive in
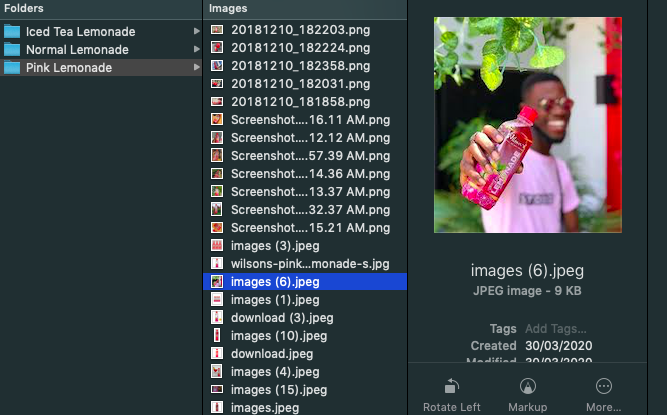
Prepare image dataset
I used to really like Wilson’s lemonade, so I have downloaded a number of their three different lemonade types (about thirty of each), and labelled them accordingly.
Upload labelled images
Head over to console.cloud.google.com/vision
Go ahead and create a project. You’ll need to enable billing to activate
AutoML in your console.
Under the AutoML options, click the Image Classification arrow to get
started.
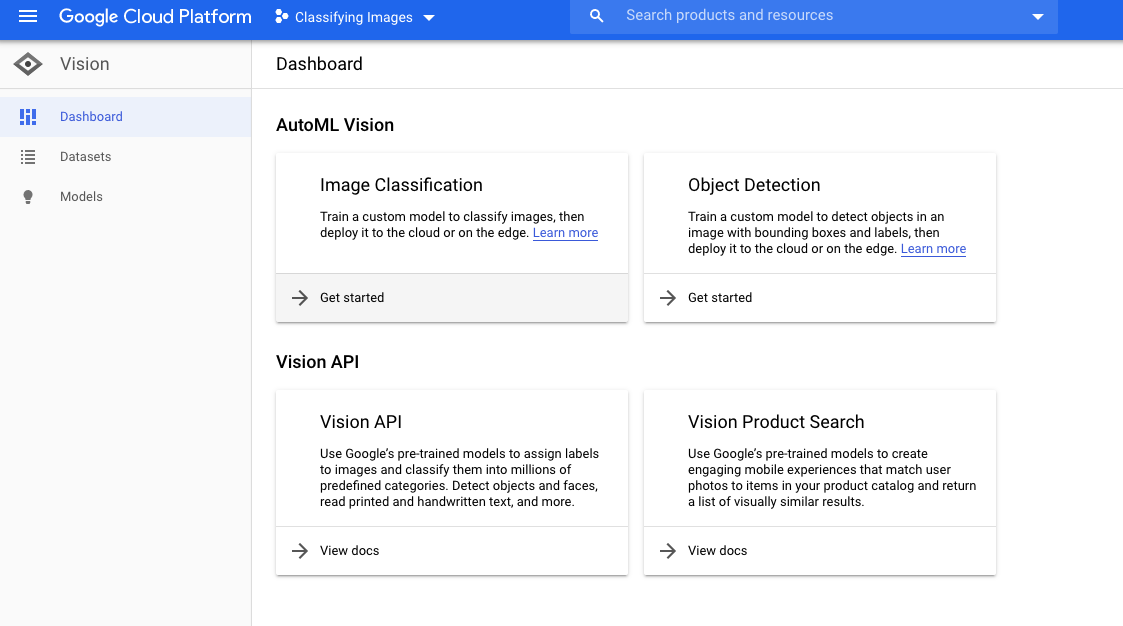
Go on to enable the API
You should see the Datasets' interface now
Next, let’s go ahead to create a new dataset. I have named my dataset “wilsons_lemonade”, and selected the model objective to be single-labelled.
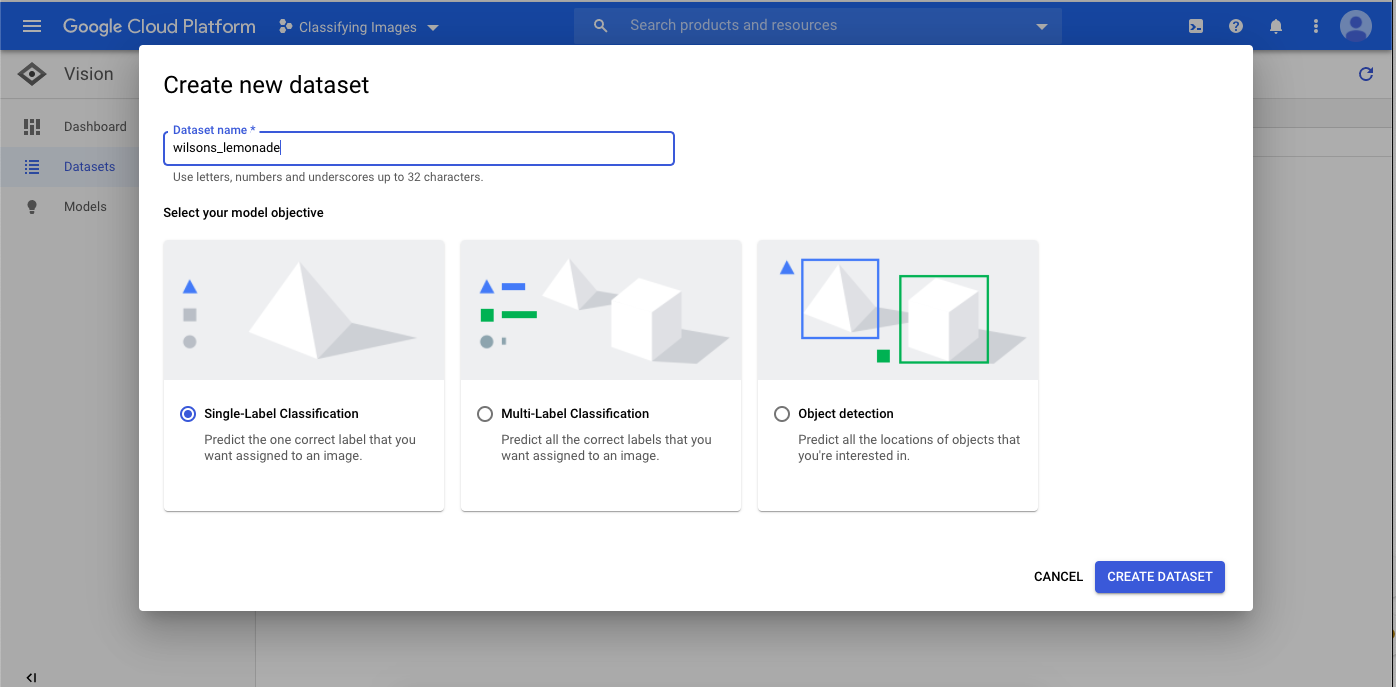
The difference between a Single-Label classification and Multiple-Label is that while a single-label classification takes on the assumption that each sample is only one label, the multiple-label classification allocates each sample to a set of labels.
There’s only one output in single-label classification as expected, whereas the outputs in multiple-label must be the exact number of labels.
Next, go ahead to import the images folder, right after selecting
it’s destination on your cloud storage.
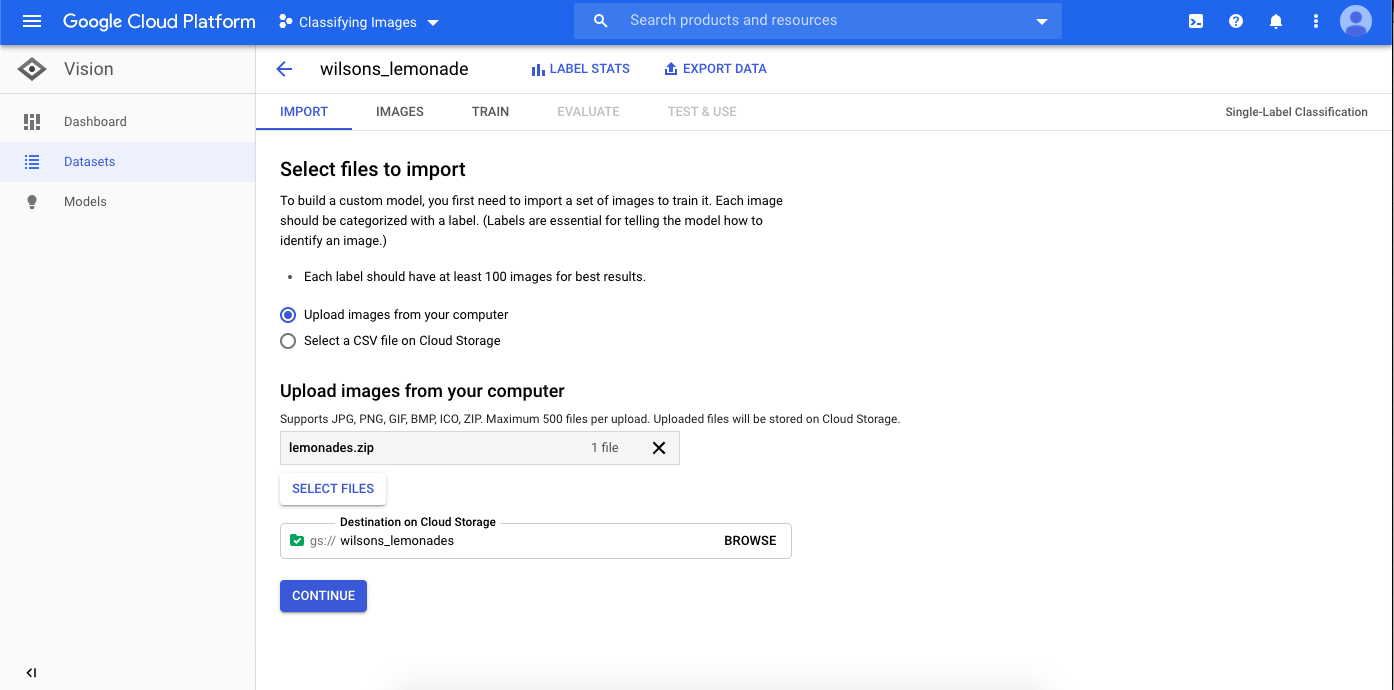
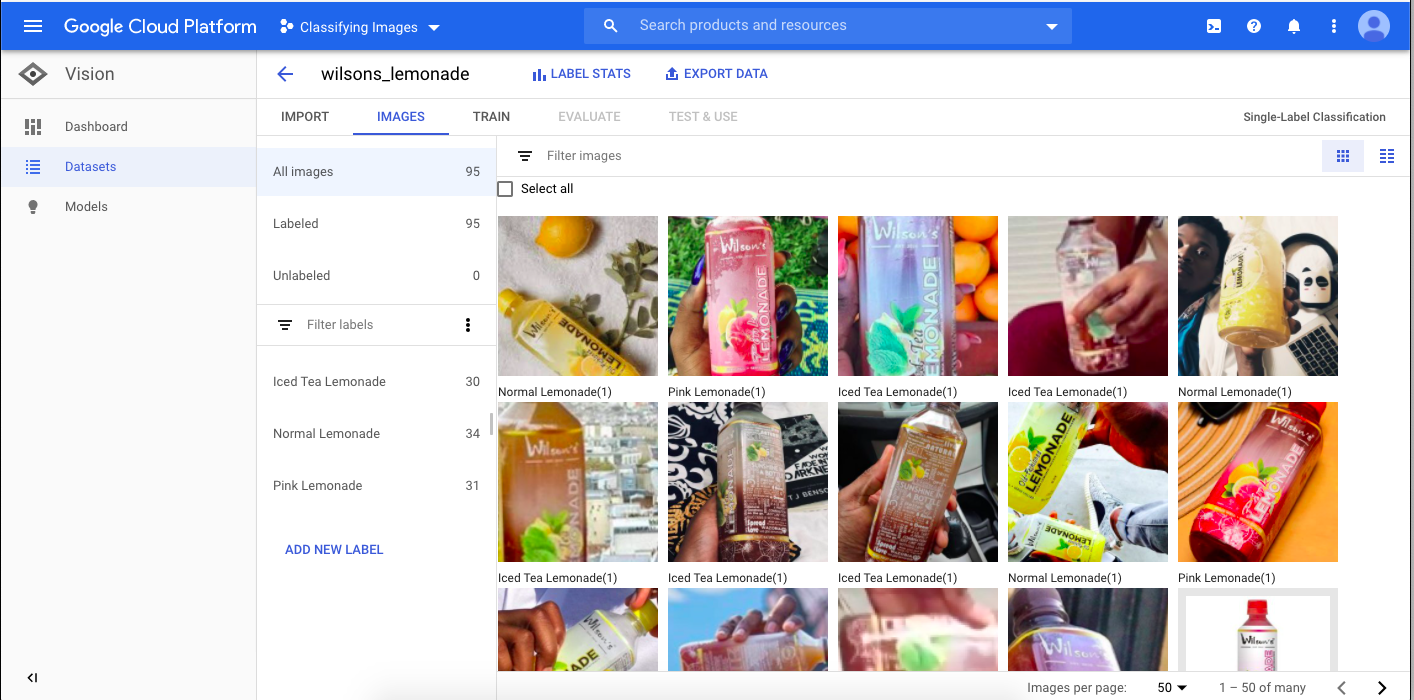
After importing the images, you can eventually see them listed as below.
You can easily add new labels (and images) from here.
Train the model
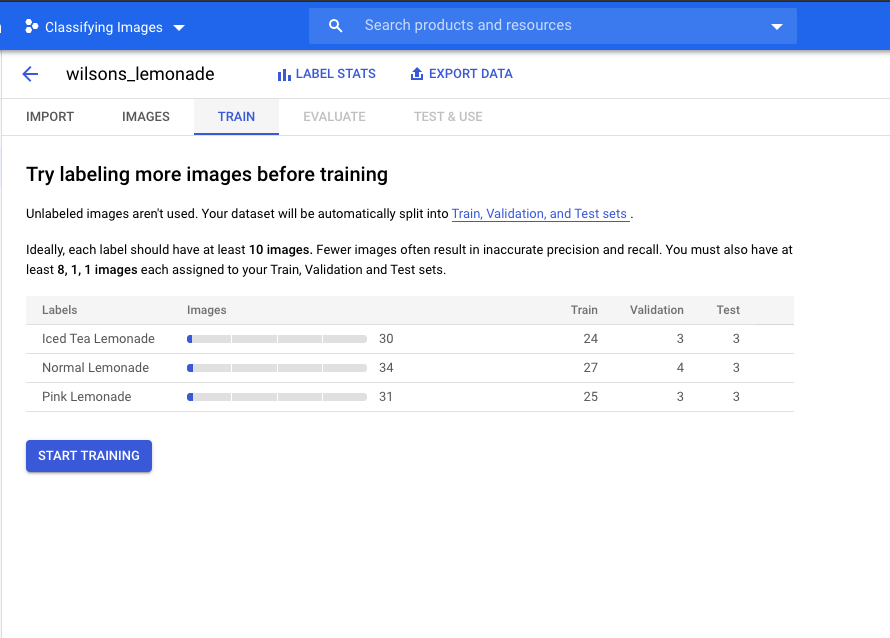
Next, let’s train our model with the uploaded images.
In the ‘Train’ section, you’ll find how that AutoML Vision has automatically
segmented the images into training, validation, and testing — of which training
and validation images are using during the period of training, while the
model is then tested on the test images.
Before training, AutoML requires to determine whether the model is to be cloud-hosted or for edge (downloadable, etc) purposes. This is so that the chosen option is which would be made available after the model has been trained.
Evaluate model performance
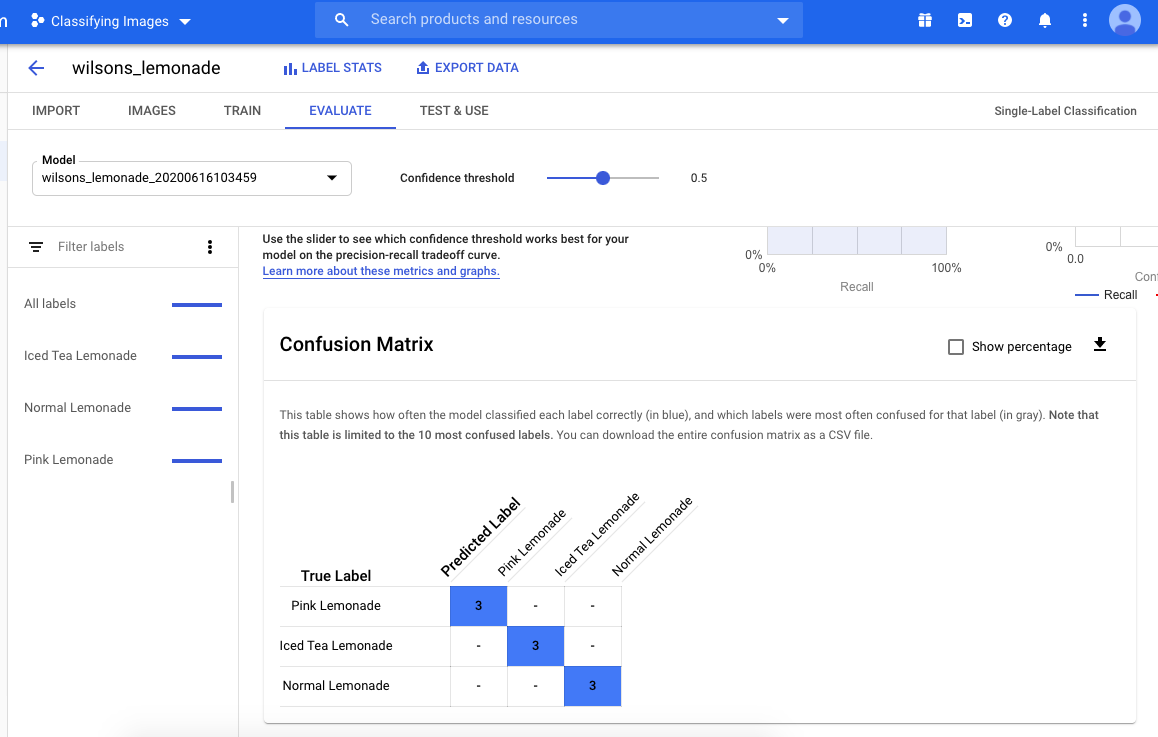
After training (usually up to an hour or much more), under the ‘Evaluation’
section, you’ll find the evaluation metrics.
In my case, there are no false negatives — which may have happened in cases
where there aren’t enough images for one label, and the confusion matrix
looks good.
Use/export model
What follows after this is how you want to use your model, and the options from AutoML Vision are:
- Cloud deployment
- Edge purposes (which then includes TensorFlow Lite, TensorFlow JS, Core ML for iOS, etc)